Saturday, March 17, 2012

Recipe 8: Stuffed Shells with Asparagus

Most of the previous recipes have been fairly meat heavy and hasn't involved pasta at all.  So in looking at my potential recipes, Stuffed Shells actually sounded really good.  I wasn't sure that I could pull it off, but I figured it would be a good recipe to try.

I also decided that I would try to make a side dish and so in addition to the stuffed shells I decided to try an aparagus recipe that sounded really good to me.

Here is the stuffed shell recipe that I used: Link

Stuffed Shells

Ingredients

  • 1 (12 ounce) package jumbo pasta shells
  • 2 eggs, beaten
  • 1 (32 ounce) container ricotta cheese
  • 1 pound shredded mozzarella cheese, divided
  • 8 ounces grated Parmesan cheese, divided
  • 1 tablespoon dried parsley
  • 2 teaspoons salt
  • 1 teaspoon ground black pepper
  • 1 (28 ounce) jar pasta sauce
  • 8 ounces sliced fresh mushrooms

Directions

  1. Preheat oven to 350 degrees F (175 degrees C).
  2. Bring a large pot of lightly salted water to a boil. Add pasta and cook for 8 to 10 minutes or until al dente; drain.
  3. In a large bowl, mix eggs, ricotta, half the mozzarella, half the Parmesan, parsley, salt and pepper until well combined. Stuff cooked shells with ricotta mixture and place in a 9x13 inch baking dish.
  4. In a medium bowl, stir together pasta sauce, mushrooms and reserved mozzarella and Parmesan. Pour over stuffed shells.
  5. Bake in preheated oven 45 to 60 minutes, until edges are bubbly and shells are slightly set.

Changes

So I wasn't really feeling the mushrooms and I decided to leave them out.  The only other change was I made the filling before I did anything else.  I then put this in the fridge and let it chill while I made the noodles and got everythign else ready.  I think this made the filling a lot easier to use.
 I also only had to cook these for 45 minutes.  60 would have been much too long.
 
Asparagus

Ingredients

  • 1 pound thin asparagus spears
  • 1 tablespoon extra virgin olive oil
  • 1 ounce shaved Parmesan cheese
  • freshly ground black pepper to taste
  • 1/4 cup balsamic vinegar, or to taste

Directions

  1. Preheat oven to 450 degrees F (230 degrees C).
  2. Place asparagus on a baking sheet. Drizzle with olive oil, and toss to coat. Arrange asparagus spears in a single layer. Spread Parmesan cheese over asparagus, and season with freshly ground black pepper.
  3. Bake 12 to 15 minutes in the preheated oven, until cheese is melted and asparagus is tender but crisp. Serve immediately on warm plates, sprinkling with balsamic vinegar to taste.

Changes

The only thing I did different was I used grated parmesan cheese, only because I had leftover from the shells.  I thought this was fine, but there is no real need to do this.
 
I let Sprinkles taste the ricotta cheese, she seemed to really enjoy it.

Here is the ricotta, parmesan and mozarella all mixed up.


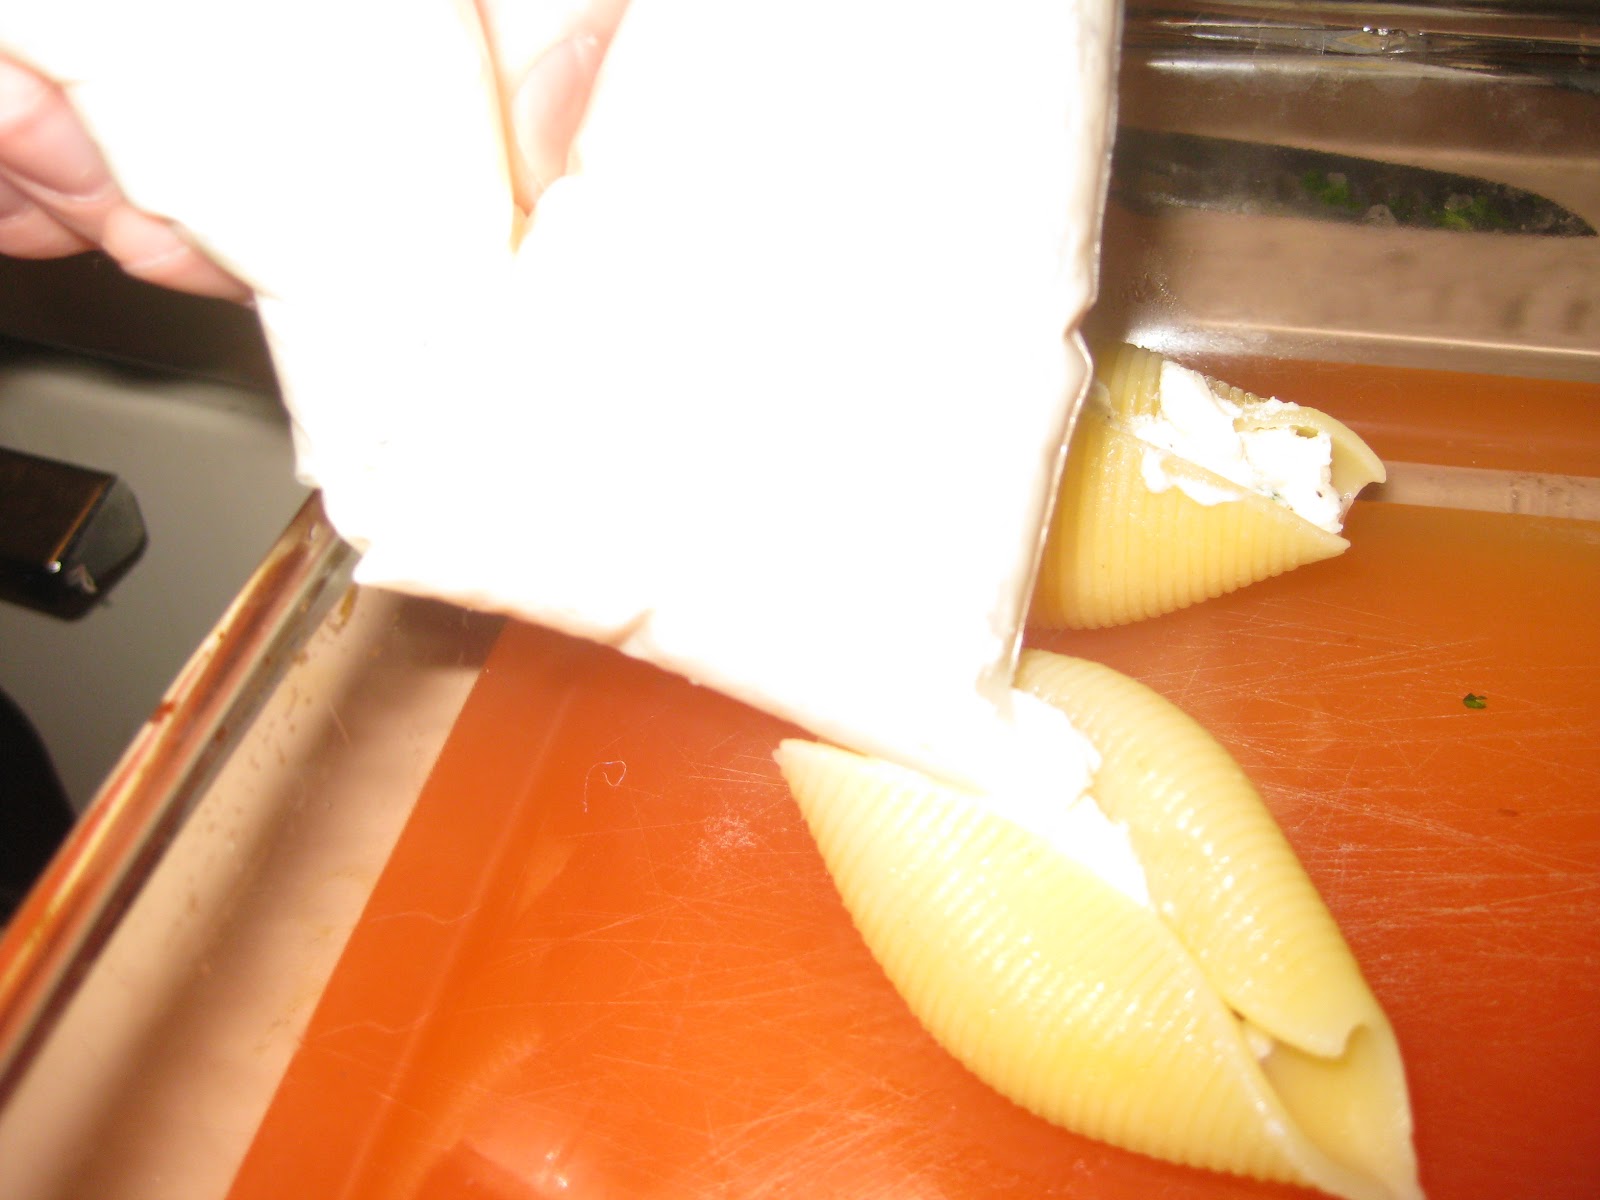
After chilling the filling in the fridge I made the jumbo noodles.  Once they were done I began putting the filling in.  One of the comments on the site said to put the filling in a ziplock bag and cut a corner off, then use this to fill the shells.

This worked really really well.  There was no mess and no fuss.  It was just simple.  It was hard to really take a picture of this, but the next two kind of show it.

Once the shells were done I poured the sauce over them.  This recipe made a lot of shells, so you need at least two pans.

Here is a close up of the shells.

 While the shells were cooking I prepped the asparagus, which was pretty simple.  I just drizzled them with olive oil and then sprinkled them with the parmesan cheese.


I cooked them for slightly longer than 15 minutes, but here is what they looked like when I removed them from the oven. I had to wait to cook them until after the shells were done.

And here is the final meal:

I really enjoyed this meal.  The shells were really really good and the asparagus seemed to complement it fairly well.  Overall, I think this might be the third favorite recipe that I have made, behind the ribs and po boys.

Wednesday, March 7, 2012

Recipe 7: Pork Tenderloin

So I was a little unsure about what I wanted to make this week, but after much research I decided to make Pork Tenderloin.  I actually wasn't entirely sure what Pork Tenderloin would be like.  The recipe also included shallots, which I had never used.... so lots of new foods!

The recipe that I used was this: Link

Ingredients

  • 2 pork tenderloins
  • 4 tablespoons Dijon mustard
  • 1 tablespoon oil
  • 2 tablespoons butter
  • 2 shallots, minced
  • 1 cup Marsala wine
  • 1 tablespoon Dijon mustard
  • 1 cup heavy cream

Directions

  1. Preheat oven to 350 degrees F (175 degrees C). Coat pork tenderloins generously with mustard. Oil a 9x13 inch baking dish.
  2. Heat oil in a large skillet over medium-high heat. Arrange tenderloins in pan, and brown the meat. Turn to brown evenly. Transfer meat to prepared baking dish.
  3. Bake in preheated oven for 20 minutes. Turn, and continue cooking for 20 minutes, or until desired doneness.
  4. Meanwhile, melt butter over medium heat in the same pan used to cook the pork. Cook shallots in butter until soft. Stir in Marsala, mustard, and cream, and cook until volume of liquid is reduced by half.
  5. Slice pork, and place on a serving dish. Spoon sauce over meat, and serve.

Changes

I didn't really make many changes.  The only thing that I did was I used olive oil to brown the pork tenderloin.

So I coated the pork tenderloin liberally in mustard. Note: One package of tenderloin contained two tenderloins.... I am not sure if this is normally... and the packaging does not make this clear at all.


This made my assistant interested in what the weird coating on the tasty meat was.

Sprinks then checked out the olive oil that I had started heating up. 

I used the biggest frying pan that I had and the tenderloins still barely fit.  I browned them for about 5 minutes, flipping them a couple of times.  Just to sort of brown them on each side.

Then into the oven they went.  Again, I oiled the pan with olive oil.
 As that was cooking I made the sauce.  The first step was the chop up the shallots, which actually made me tear up a lot more than onions, which surprised me a lot.  I cooked them in the same pan that I browned the meat in.

After they were soft I added the Marsala and the cream and cooked it.  The recipe says until half of the liquid is gone.  I ended up cooking it for about 12 minutes. And it was great!

After 20 minutes I flipped the tenderloin and I put in a meat thermometer.  After the second 20 minutes the pork wasn't quite done, so I left it in for a few more minutes.  Then removed it and sliced it up.  Here is a side view.

This interested Sprinkles a lot more than my more recent recipes.

The picture below doesn't particularly do this dish credit.  It was really really good.  The sauce was just amazing and really made the dish.  I am a little hesitant to rank this ahead of the ribs since I love ribs a lot... but this is was great.

Tuesday, February 28, 2012

Irish Chicken and Dumplings

This weeks recipewas Irish Chicken and Dumplings! I didn't have a particular reason for this. I just looked at recipes and decided. I almost made Chicken Fried Steak, but I decided a one week break from frying might be good, considering that I just had a succesful attempt last week.

Anyway, the recipe I made was this: Link

Ingredients

  • 2 (10.75 ounce) cans condensed cream of chicken soup
  • 3 cups water
  • 1 cup chopped celery
  • 2 onions, quartered
  • 1 teaspoon salt
  • 1/2 teaspoon poultry seasoning
  • 1/2 teaspoon ground black pepper
  • 4 skinless, boneless chicken breast halves
  • 5 carrots, sliced
  • 1 (10 ounce) package frozen green peas
  • 4 potatoes, quartered
  • 3 cups baking mix
  • 1 1/3 cups milk

Directions

  1. In large, heavy pot, combine soup, water, chicken, celery, onion, salt, poultry seasoning, and pepper. Cover and cook over low heat about 1 1/2 hours.
  2. Add potatoes and carrots; cover and cook another 30 minutes.
  3. Remove chicken from pot, shred it, and return to pot. Add peas and cook only 5 minutes longer.
  4. Add dumplings. To make dumplings: Mix baking mix and milk until a soft dough forms. Drop by tablespoonfuls onto BOILING stew. Simmer covered for 10 minutes, then uncover and simmer an additional 10 minutes.

Changes

I made a few minor changes.to this recipe. The first was that I added an extra can of cream of chicken soup. The second change had to do with the potatoes. The recipe calls for the potatoes to be quartered. But these pieces were huge, so I cut them up even more. I actually did this with all of the veggies, having the onions and potatoes in pieces that I could eat was important. I actually think that I didn't do enough cutting of the potatoes and definitely recommend cutting them in small pieces. I also ended up only using 3 potatoes as 4 was way too much. I used russet potatoes which were very large, so 4 smaller potatoes might have been fine.
The other change had to do with the chicken. The recipe calls for 4 chicken breast halfs and then to shread it. I didn't really want to go through this, so I just used regular chicken breasts. I only used 4, and I think using 6 would probably be better. I don't think that 4 was bad, but there are definitely times when I would be trying to find chicken.
I also added some garlic powder, onion powder and extra pepper to the mix. Finally, I used a different recipe for the dumplings. I also bought a mix just in case, but I used this recipe:
  • 1 3/4 cups of all purpose flour
  • 1/2 tspn baking soda, salt
  • 3 tablespoons of veg. shortening
  • 3/4 cups of low-fat buttermilk.
  • Add all ingredients, stir til you get the consistency of dough.
The recipe itself was pretty easy. It did take about 3 hours from start to prepare to actually eating it. Which I guess made it better.

Here is the pot with the chicken and celery and onions.

While that was cooking I got everything else ready, which was mostly just the potatoes and carrots. Here is the huge bowl ready to go into the pot.

Here it is added. One note, a large pot would be good. I had a medium soup pot and it was very close to the top. If I had actually added 4 potatoes I think it would have overflowed.

While that was cooking I mixed the dough for the dumplings and mixed it until it was dough like.

Then I just took them and made a bunch of little dumplings.

After adding the peas I added the dumplings. Most of the stuff I read said that it was important to make sure that there is space between the dumplings so they can expand and grow. One other thing, The recipe says to cook this on low, and then that it needs to be boiling by the time you add the dumplings. I started it on low, but once I added the potatoes and carrots I turned the heat up to medium, both to make sure that the potatoes cooked through and to get a good low boil going.

After about 20 minutes or so, this is what they looked like. There is definitely an art to dumplings. I was trying to regulate the heat, but with the pot so full it was tough. I think I did a decent job, but the dumplings where definitely a tad on the doughy side. I still really liked them though, I thought they were great.

This is a picture of the first bowl of chicken and dumplings. The first two bowls were very liquidy. The ones that I had today were not nearly as liquidy. Both were really good, but I think I like the less liquidy slightly better, just because it seems more hearty.

Thursday, February 23, 2012

Recipe 5: Po Boys

In honor of Mardi Gras I decided this week to make something from New Orleans.  I have also run into several recipes that require frying, which is something that I have never done on the stove top.  This seemed like an easy enough recipe to serve as my introduction to frying, and something that I have been wanting to try.

Here is the recipe that I tried:  Po Boys

Ingredients

  • Vegetable oil for deep-frying
  • 4 French rolls, split and hinged
  • 4 tablespoons melted butter
  • 1 teaspoon minced garlic
  • 3 eggs, beaten
  • 2 tablespoons Creole seasoning
  • 3/4 cup all-purpose flour
  • 2 pounds jumbo shrimp, peeled and deveined
  • 2 cups Kikkoman Panko Bread Crumbs
  • 2 cups shredded lettuce
  • Remoulade sauce:
  • 1/2 cup mayo
  • 1 tablespoon horseradish
  • 1 teaspoon pickle relish
  • 1 teaspoon minced garlic
  • 1/2 teaspoon cayenne pepper
  • 2 tablespoons Kikkoman Ponzu Lime

Directions

  1. Combine butter and garlic, spread on rolls and toast in the oven until brown. Heat oil in a 2 quart saucepan until 360 degrees. Mix creole seasoning and flour. Dredge shrimp in flour then egg; roll in panko. Fry shrimp in batches until golden brown. Spread remoulade sauce on all 4 rolls. Top with shrimp, followed by shredded lettuce.
  2. Remoulade sauce: Mix mayo, horseradish, pickle relish, minced garlic, cayenne pepper, and ponzu in a bowl.

So, I searched all over the store and was not able to find Kikkoman Ponzu Lime... It actually claims to be a very high percentage of that sauce.  Anyway, since I couldn't find this I figured I would try making it without it and I would also hedge my bets and buy a bottle of Remoulade Sauce, just in case mine turned out really awful.

I think the directions on this are a bit off, or at least for me they were.  I wanted everything to be ready before I started the deep frying process.  So the first thing that I did was prepare the shrimp.  The recipe does not really specify how to prepare them, so I chopped the tails off since I figured that would make them easier to eat in sand which form.  I think this is key.  It does make the breading process a lot messier, but much easier to eat.


I also used much less shrimp.  The recipe says that this is for 4 sandwiches.  I made only about 1 pound of shrimp and had more than enough for 4 sandwiches.  I can't even imagine what I would have done with 2 pounds of shrimp, let alone how long that would have taken.

Anyway, once I got the shrimp ready, I set up my station.  I mixed the flour and creole seasoning, which made me cough a lot, mixed my eggs and poured out the bread crumbs in a bowl. The picture below kind of shows this.

This was a really messy process and I kind of found myself wishing that I had left the tails off.  But I pushed onward  The first few were a little but uncovered, but I got better as I went along.  I did not get cleaner, as it was messy throughout.

Once I was done I had a very large plate of breaded shrimp.  Then it was time to start frying!

This link was very helpful to me as it described exactly what I would need to do: Deep Frying

This ended up taking a lot more oil than I was expecting, but I poured in in and waited.  I didn't actually have a thermometer that I could measure the temperature with, but one hint on the Internet is to drop a few droplets of water in the oil and if it starts to make bubbles then it is ready.

So I took a long wooden spoon and slowly lowered several of the shrimp into the pot.  Soon it was frothily bubbling and... I suppose deep frying.

To tell when they were done I just waited until the floated to the top of the oil.  Then I scooped them out and set them aside.

Finally once the shrimp were down I prepared the buns and the sauce.  The buns just included a light garlic butter and then a few minutes toasting in the oven and the sauce was just mixing the ingredients shown above.

I did a small taste test comparing the sauce that I made and the one that I bought.  Even without the Ponzu Lime I liked the homemade sauce a lot better.  So then it was time to place the shrimps and shredded lettuce and eat dinner!

The first one was a little hit and miss, I think that I didn't get enough of the oil off the shrimp, but I really liked the combination of the sauce and the garlic butter and the sauce.  The second one (the next day) was a lot better as I think the oil had a chance to leave the shrimp at least somewhat and that taste mellowed out.  The end result was a very good sandwich.

Now it should be noted that there is no time on this recipe.  The whole process took me probably about two hours just to cut and prepare the shrimp and then fry them.  It would probably go faster, I just wanted to make sure I didn't mess up the frying as it was my first time.  Also Deep Frying takes a fair amount of oil.  Several cups at least was required.

Tuesday, February 14, 2012

Recipe 4: Jambalaya

 So the next recipe that I decided to try on my great journey was Jambalaya.  I actually thought that it was always spelled Jumbalaya.... luckily lots of other people seemed to as well, since the search auto corrected.

 This is the recipe that I went with: Link

Ingredients

  • 2 tablespoons peanut oil, divided
  • 1 tablespoon Cajun seasoning
  • 10 ounces andouille sausage, sliced into rounds
  • 1 pound boneless skinless chicken breasts, cut into 1 inch pieces
  • 1 onion, diced
  • 1 small green bell pepper, diced
  • 2 stalks celery, diced
  • 3 cloves garlic, minced
  • 1 (16 ounce) can crushed Italian tomatoes
  • 1/2 teaspoon red pepper flakes
  • 1/2 teaspoon ground black pepper
  • 1 teaspoon salt
  • 1/2 teaspoon hot pepper sauce
  • 2 teaspoons Worcestershire sauce
  • 1 teaspoon file powder
  • 1 1/4 cups uncooked white rice
  • 2 1/2 cups chicken broth

Directions

  1. Heat 1 tablespoon of peanut oil in a large heavy Dutch oven over medium heat. Season the sausage and chicken pieces with Cajun seasoning. Saute sausage until browned. Remove with slotted spoon, and set aside. Add 1 tablespoon peanut oil, and saute chicken pieces until lightly browned on all sides. Remove with a slotted spoon, and set aside.
  2. In the same pot, saute onion, bell pepper, celery and garlic until tender. Stir in crushed tomatoes, and season with red pepper, black pepper, salt, hot pepper sauce, Worcestershire sauce and file powder. Stir in chicken and sausage. Cook for 10 minutes, stirring occasionally.
  3. Stir in the rice and chicken broth. Bring to a boil, reduce heat, and simmer for 20 to 25 minutes, or until liquid is absorbed. 
___________________________________________________________________________________
 This was a fairly simple recipe with a lot of stuff.  I made a few changes based again on recommendations from other users, and overall I think the end result was really good.

The first change was that instead of Peanut Oil I simply used olive oil, this was simpler and I already had it, and a lot of people recommended this change.

The next change was in the type of sausage that I used.  I didn't really have access to Andouille sausage so I substituted spicy Italian sausage instead.  It seemed to work fairly well.  There were a lot of recommendations for Kielbasa, so I suppose that would work as well.The recipe called for slices of sausage, which based on what I used was not a simple thing as the sausage was a little mushy.  I ended up cutting them and them pushing them down a bit, the end result is below.


After seasoning them with Cajun Seasoning (which amazingly seems to be sold at any local supermarket), I put them in the pot with 1 tbsp of olive oil and cooked them up.  To season I simply poured the Cajun seasoning on the slices, then flipped them over and did the same for the other side.


The chicken was similar.  I think that I cut the pieces a little too large, at least some of them.  There are some recipes were you cook the sausage and the chicken together, but I actually thought that cooking them separately was good... though I am not sure why. It just seemed right.


To help break up the monotony of hearing about cooking, here is my assistant chef "helping" me by sitting in front of the recipe.


After the meat cooked, I set that aside and sauteed the veggies and spices. Then added the meat back in.  The resulting picture is below.  It kind of looks a little bit weird.... Since I was planning on adding shrimp at the end and added a little more meat than the recipe called with I went with a much bigger can of crushed tomatoes. 28 oz instead of 16 oz.  A few people made this recommendation because of the rice, however, I am glad that I did it, because without it, this would have been even more meaty than it turned out.


My assistant relocated to the top of the cabinets where I couldn't shoe her away and she could make sure I did everything correctly. 

The next change that I made, again based on recommendations was how I handled the rice.  The recipe calls for chicken stock and uncooked rice.  But this seemed a little wonky to me.  A few of the recommendations said they cooked the rice first and left out the stock. So this is what I did. 

After adding the rice, the jambalaya looked like this.

I let it simmer for a total of 20 minutes. With 7 minutes left I added some shrimp, just to add a little flair.  The white/pinkness of the shrimp stood out against the rest of the dish. Of course that was soon remedied by stirring it together.

Finally the dish was done!  I wasn't sure what to have as a side dish... so I just had the Jambalaya.  Considering how meaty it was this was fine and one bowl was enough to satisfy me.  It was also pretty good, so I was pleased with the result.


The only change that I would make is I think it is very important to cut everything up before hand.  I tried cutting things one at a time and them adding them, but the meat cooked much too fast for me to finish the veggies before I actually needed all of them.  A few minutes more prep time would have made the process much simpler and easier. 

Sunday, February 12, 2012

Recipe 3: Baby Back Ribs

 So one of the things that I have decided to try this year is to cook something new every week.  This was designed to accomplish an increase in my cooking abilities and also to have new food all the time.

I don't think that what I normally make is bad, but I really wanted to try new recipies.  The first two recipies went well enough, and then I decided to make sure that I actually remember what I am doing and chronicle the journey.

 So the third recipe was this week and I decided to try something that I have always wanted to make, Baby Back Ribs!

I went with the most highly rated recipe from Allrecipes.com, and it was also really simple so that helped a lot.  Here is the recipe, and a link:

Ingredients

  • 2 pounds pork baby back ribs
  • 1 (18 ounce) bottle barbecue sauce

Directions

  1. Tear off 4 pieces of aluminum foil big enough to enclose each portion of ribs. Spray each piece of foil with vegetable cooking spray. Brush the ribs liberally with barbeque sauce and place each portion in its own piece of foil. Wrap tightly and refrigerate for at least 8 hours, or overnight.
  2. Preheat oven to 300 degrees F (150 degrees C).
  3. Bake ribs wrapped tightly in the foil at 300 degrees F (150 degrees C) for 2 1/2 hours. Remove from foil and add more sauce, if desired.
 So I made one major change based on the reccomendations of other users.  Instead of using BBQ sauce I decided to use a dry rub instead.  This is the dry rub that I used:
  • 1/4c. brown sugar
  • 1 1/2 Tbsp. paprika
  •  1 Tbsp. salt
  • 1 1/2 Tbsp. black pepper 
  • 1 tsp. garlic powder
  • 1 tsp. onion powder 
  • 1/4 tsp. cayenne red pepper. 
 I think that it might have been supposed to be for a bigger rack of ribs, but I just used this on one rack.
 
 Here is a picture of the rack with the dry rub, about to go in the oven.


 After cooking the ribs for 2.5 hours I took it out.  Then I rubbed some BBQ sauce on the top of it and put it under the broiler.  I probably broiled it for about 10 minutes.  Here is a picture of the ribs after being cooked.

Finally, a picture of the ribs ready to eat.Overall, I was pretty impressed with the result.  It was really simple and it turned out really great.  If anyone want's to make Baby Back Ribs I would certainly reccommend this recipe.


Tuesday, October 4, 2011

Express Train!

Continuing my backlog of events, on the weekend of August 19th all of my roommates finished their internships.  This meant that I had the place to myself! Well.... after I drove them to the airport.  On Saturday morning I had to wake up at around 5 to drive Kyle to the airport, and then on Sunday I had to be up at 7 to drive Jacob to the roommate.

This sort of decreased my energy level to do anything during the day.  Saturday I did some shopping and then Sunday I decided to go to a Round Rock Express baseball game.  The Round Rock Express are the triple-A team for the Texas Rangers so they had a fair amount of prospects and I actually lucked into being able to watch one of their top pitching prospects, Martin Perez.

Eric told me that their stadium, the Dell Diamond, was one of the best stadiums in all of the minor leagues.  I haven't been to that many minor league stadiums, but it was very nice. Below are just some pictures of the stadium and the game.

This is the view of the outfield and the bullpen.

The view, albeit blurred by the sun, from the outfield seats.  The sun was pretty strong for the first couple of innings.  The majority of the people sat on the third base side, which was in the shade.

However, I was able to get awesome seats by sitting on the first base side.  2 rows behind the dugout!!  I think those are about the best seats that I have ever had at a baseball game.  The Express were playing the New Orleans Zephyrs, the farm team for the Florida Marlins, so I was right behind the New Orleans dugout.  I thought this was pretty fitting considering that I was planning on going to New Orleans with Katie and Will after my internship.

 The game was pretty much a blowout.  The Zephyrs scored 6 runs in the first 2 innings and pretty much ran away with the thing, but all in all it was a fun game to go to.  Particularly after the sun went done and I didn't have to worry about getting sunburned.


One thing that I noted was that the Express had a lot of players who had been in the majors with one team or another, but weren't good enough to stick.  So the proverbial AAAA player.  I was able to see Chris Coghlin and Logan Morrison for the Zephyrs.  I guess they were rehabbing injuries.  However, Eric and I made a bet regarding Coghlin, so seeing him basically assured me of winning $5!