Sunday, October 21, 2012

Recipe 22: Zucchini Herb Casserole

I don't make many vegetarian dishes, but at some point during the summer I found a couple of zucchini recipes that sounded really good to me.  This particular one was a casserole that included a bunch of veggies and rice and then the whole thing is covered in cheese.

Here is a picture of the final result.

 Here is the recipe that I used(Link):

Ingredients


  • 1/3 cup uncooked long grain white rice
  • water
  • vegetable oil
  • zucchini, cubed
  • sliced green onions
  • garlic, minced
  • garlic salt
  • basil
  • sweet paprika
  • dried oregano
  • seeded, chopped tomatoes
  • shredded sharp Cheddar cheese, divided

Directions

  1. Combine the rice and water in a saucepan, and bring to a boil. Reduce heat to low, cover, and simmer 20 minutes, until rice is tender.
  2. Preheat oven to 350 degrees F (175 degrees C). Lightly grease a shallow 1 1/2 quart casserole dish.
  3. Heat the oil in a skillet over medium heat, and cook the zucchini, green onions, and garlic 5 minutes, or until tender. Season with garlic salt, basil, paprika, and oregano. Mix in the cooked rice, tomatoes, and 1 cup cheese. Continue to cook and stir until heated through. Transfer to the prepared casserole dish. Top with remaining cheese.
  4. Bake uncovered 20 minutes, or until cheese is melted and bubbly.

The Process

This was actually a really simple recipe to make, I started the rice and then  mixed all of the zucchini together with the green onions and garlic.


Then I put it in the only skillet that I had over the summer, it was slightly small, but still worked pretty well.

Since the rice wasn't ready yet I decided just to mix everything together and cook it a little until the rice was done.

So I added the remaining veggies, spices and cheese and then heated it for a little bit.

Since I didn't think the rice would fit in the skillet I decided to mix everything together in the pan.

I then added the cheese and put it in the oven.  All in all a very simple dish to make.

I was surprised, but I really liked this.  I think that the herbs made this very flavorful and kind of salty, which usually makes everything a little better.

I do think that this might be best as a side dish or not a stand alone main dish anyway.  I had a salad with it, but it definitely seemed more like a side to me.  However, it was very good.

Wednesday, October 17, 2012

Recipe 21: Meat Pie

 One of my most succesful recipes was the Chicken Pot Pie, or at least I like to think that it was successful since it managed to make one of my friends actually like Pot Pie, for the first time ever.

So I decided to experiment I had already made the crab pot pie earlier in the summer, so I decided to try a ground beef version, which is shown below:


And here is the recipe that I used (link):

Ingrediants

  • 1 pound ground beef
  • onion, chopped
  • condensed vegetable beef soup, undiluted
  • condensed cream of mushroom soup
  • 3 potatoes, peeled and cubed
  • carrots, sliced
  • salt
  • black pepper
  • 1 pastry for a 9 inch double crust pie

Directions

  1. Preheat oven to 350 degrees F (175 degrees C.)
  2. In a large skillet, cook the ground beef and chopped onion until meat is no longer pink. Remove from heat and drain off excess fat. Stir in the vegetable beef and cream of mushroom soups, the potatoes and carrots. Season with salt and pepper. Divide filling between 2 - 9 inch pie plates.
  3. Roll pastry to fit the top of each pie. Cover each pie and cut slits in top to allow steam to escape.
  4. Bake in the preheated oven for 45 to 50 minutes, or until golden brown. Let stand on a wire rack for 15 minutes before serving.

Changes

 I made this a while ago, but I don't actually remember any changes that I made.  I do think that it is important to point out that this makes 2 pies.  Which is a lot of food.  It made me for over a week.... and by the end I was... kind of tired of meat pie.  So just be fore warned, either cut this recipe in half or expect to be eating a lot of meat pie!


The Process

The process of making this was actually really simple.  I just mixed everything together in a huge pot.  First I put in the meat and onions:


 My roommate was also cooking at the time.  He was making frozen hamburger patios.  I can't say that I was particularly jealous.

After the hamburger was browned I added the soups, carrots and potatoes. 

Then I mixed everything together really well to finish the filling.

I just premade pie crusts.  Normally I would use the kind that you roll out into the pie plate, but since I had no pie plate I didn't really have a choice.  I took one crust and put it on top the pie crust with the filling.  The picture below shows one completed and another without the top.  I then cut slits and baked them.


And here is the end result.  The only thing that I would change is to cook it for a little longer.  I was playing volleyball and so when the timer went off I just ran in and took them out of the oven then went back and played again.  Had I looked closer I think it could have used a few more minutes.  But I still really enjoyed it.  I don't think it was as good as the chicken pot pie, but still really good.


Sunday, September 2, 2012

Houston we have a ..... Johnson Space Center

Recently I took a trip to Houston to go to the Johnson Space Center and a Houston Astros game.  It was kind of a long drive, but it was a really fun day, so it was worth it.  I went with Kyle (one of my roommates from last year) and Dave (his roommate now) who both work at NI with me.


When we were looking up stuff to do, we first noticed that they had a video presentation on the Mars Curiosity rover.  We got there about 15 minutes before it started so we just got in line for that.  It started with a little video about NASA, which we all had to stand for, then they let us in to the theater area so we got to sit and listen to a talk about mars and the rover.  It was pretty cool, but definitely aimed at the younger members of the audience.


Once we were done we wanted to do the tram tour which takes you to mission control and to see the rockets. Unfortunately, due to some stormy weather, read lots of rain and maybe lightning, the trams were cancelled for most of our time there.  Despite this people still lined up:


So instead Kyle and I went in this flight simulator ride, where we got to control this little thing.  Inside we were in a pretend F-16.  Kyle flow and I shot things.  In 5 minutes we shot 17 enemies and got the Ace rating!  Also we flew upside down a lot, so that was fun! 


Afterwards the tours were still cancelled, so we just walked around and explored a bit.

There was this little simulation thing of how the engines worked.  And it was running on LabVIEW, so Dave and Kyle had to take pictures of it.


Next we went up to the replica space shuttle that was embedded in the wall.  It was I guess a place that they practiced and stuff.

The thing I found most interesting was their bathroom... which was mostly just a closet.

After we were doing looking around, we went to the spaceship galleria, which was a video of all of the stuff that NASA has done and some of JFK's speeches.  It was pretty good.  They also had the lectern from JFK's famous "We choose to go to the moon speech"
 After the video was over we got to go into this gallery that had a bunch of the actual spaceships that had been in space, which was really awesome.

This was the Faith 7, which was the last spaceship of the mercury program.  It looked so cramped and I can't imagine going anywhere in it for long periods of time.

Then there was this Gemini spacecraft, which was a 2 person space craft.

Finally, there was the Apollo 17 capsule, which was pretty awesome, it also looked pretty beat up. probably from reentry.

Since we couldn't go to mission control I took a picture of part of Mission control from the Apollo launches.  Not quite as awesome, but kind of close.


They also had part of sky lap there, well a training version of sky lab.  Some of the parts of it were crazy.  For example, here is the shower.... which was just a tube.

This is the sleeping compartments, which were really small.

The biggest area was the part, where I guess they exercised... it seemed like a waste of space, but here is an example of a guy floating around. (note: this guy is fake).

The final part of the gallery was a scary image of  the future astronaut.  It was a robot!!!!

Finally, while most places have dippin' dots, the space center had Space Dots! So I had to get some.  They were pretty much the same, but they did have pop rocks! So it was kind of fizzy, which was an interesting addition.


After that we headed out to the game.  We weren't able to do the tram tour, but it was still a really fun afternoon

Wednesday, August 29, 2012

Recipe 20: Chicken Marsala

 So the next recipe that I made while in Texas was chicken Marsala.  I actually was going to make a different version of this, then lost the recipe.  But I found this one and it was pretty good, so it all worked out in the end!

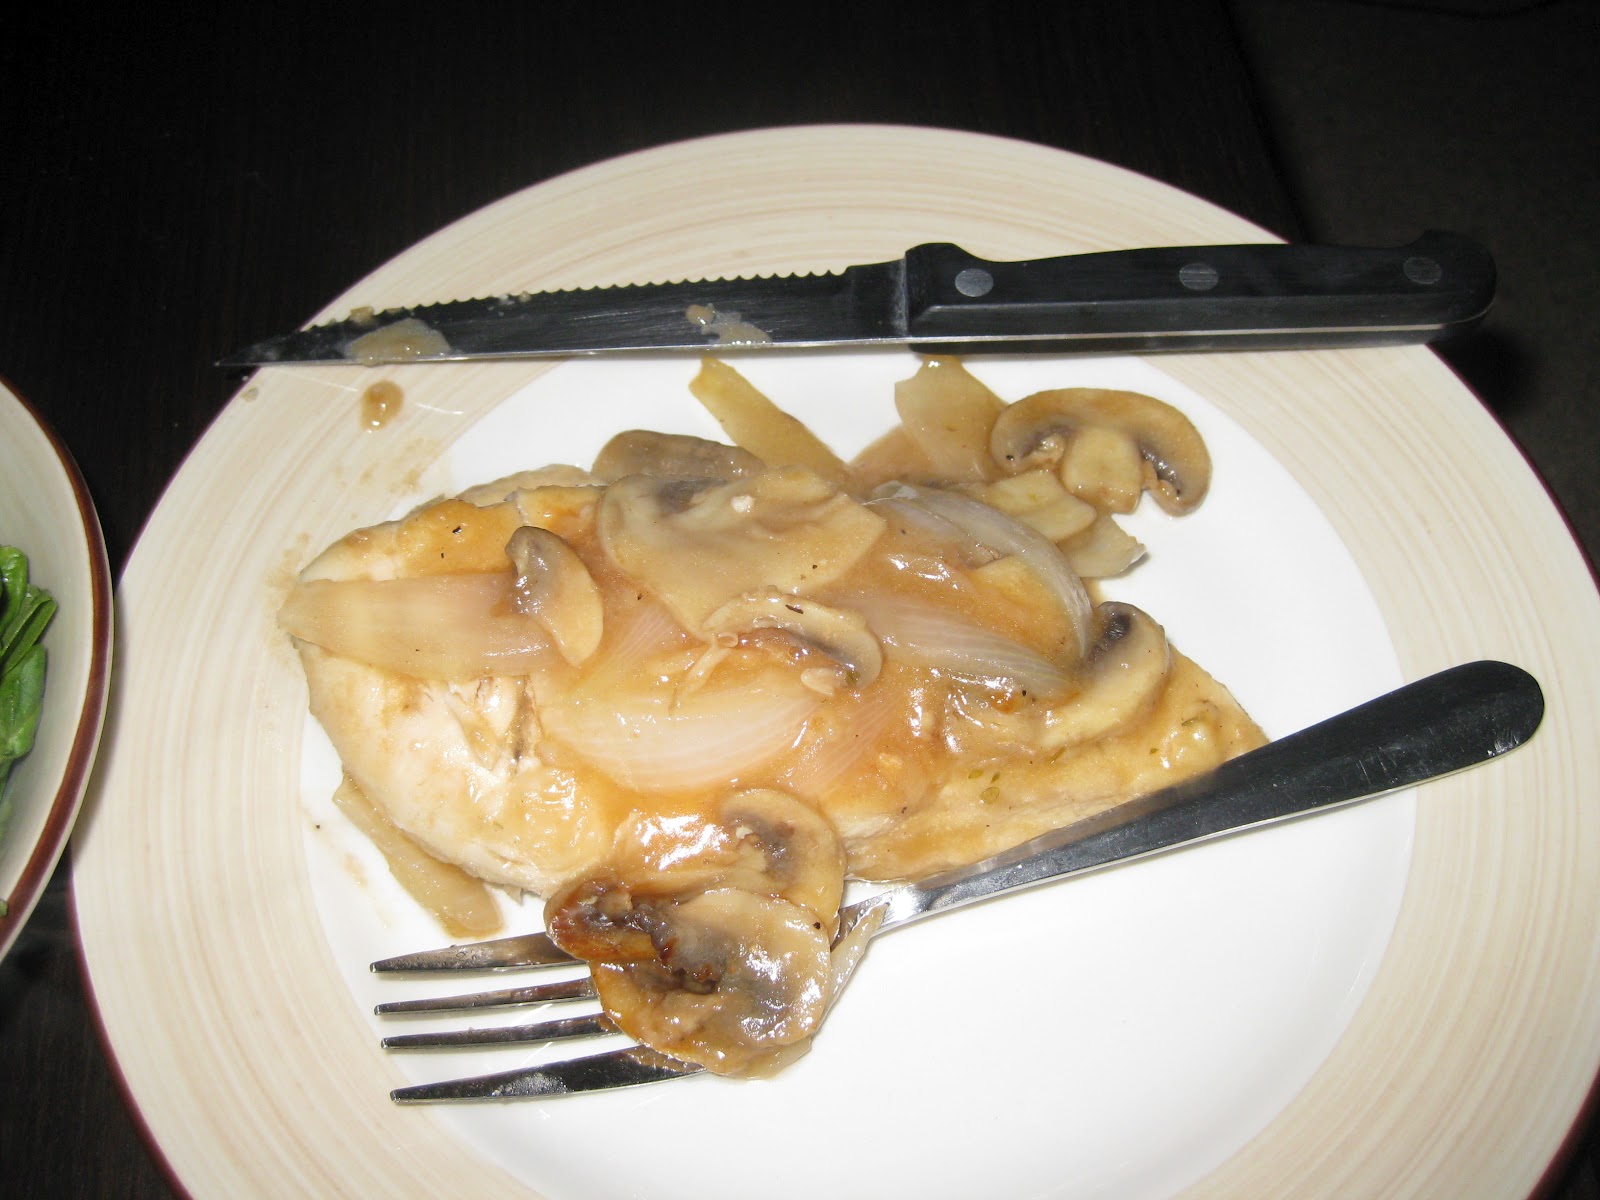
Here is a picture of the final result:


And here is the recipe that I used:

Ingredients

  • 1/4 cup all-purpose flour for coating
  • 1/2 teaspoon salt
  • 1/4 teaspoon ground black pepper
  • 1/2 teaspoon dried oregano
  • 4 skinless, boneless chicken breast halves - pounded 1/4 inch thick
  • 4 tablespoons butter
  • 4 tablespoons olive oil
  • 1 cup sliced mushrooms
  • 1/2 cup Marsala wine
  • 1/4 cup cooking sherry

Directions

  1. In a shallow dish or bowl, mix together the flour, salt, pepper and oregano. Coat chicken pieces in flour mixture.
  2. In a large skillet, melt butter in oil over medium heat. Place chicken in the pan, and lightly brown. Turn over chicken pieces, and add mushrooms. Pour in wine and sherry. Cover skillet; simmer chicken 10 minutes, turning once, until no longer pink and juices run clear.

Changes

I didn't make a whole lot of changes to this.  The one pick change was that I increased the amount of sauce that I made as well as the number of mushrooms.

For the sauce, I just added Marsala wine, but I added slightly more than 1 cup of it.  I probably also added about 2 cups of mushrooms.  In addition I added about half of an onion at the same time that I added the mushrooms.

The Process

So the first step was to coat the chicken in the flour mixture.  To do this I used an ingenious technique that one of the comments gave.  I mixed everything in a large Ziploc bag, shown below, and then one by one I added the chicken breasts and coated them.  It worked so great!


Here are the chicken breasts all coated and ready to cook.

 Next I melted the butter in the pan and added the chicken.  I really only have one frying pan, so I was a little worried about the size, but everything worked out.

Once the chicken was done I added the Marsala wine, mushrooms,  and onions to the mixture and cooked it up.
 I then covered the skillet and let it cook for 10 minutes, stirring it occasionally, and viola! The meal was done!
 This was a really simple recipe, but I think that it turned out great.  The onions were definitely a good touch, and I guess that I don't know what the sauce was like with Marsala wine and Sherry, but with just Marsala it was pretty great. 

Tuesday, August 28, 2012

Remember the Alamo?

 This past weekend a couple of friends from back in my undergrad days (Scott and Nick) came down to Austin, and since they wanted to sight see I took advantage and tagged along.

Friday night we drove down to San Antonio and walked along the River Walk, which is located in the downtown area.  I have always heard about the area and it has looked pretty nice when I have seen pictures.

So getting to the area is actually a little sketchy from some parts of town.  In the area that we walked down there were a lot of homeless people milling around... and it just made me wonder how sketchy the river walk was going to be, considering it was down stairs.

My fears were soon allayed as we walked down the stairs, it was actually really really cool.  The river is sort of a slow meandering channel and both sides have shops and bars and restaurants.  Here are a few pictures to give the general view of it.


We stopped and got some ice cream and then sat my the river and people watched for a while.  Then we walked further down until  Scott asked someone how much further we should go.  He recommended that we turn around since "All of the girls with the short skirts are that way".  I was a little skeptical of any advice worded these way.... and it didn't really prove to be worth much, but we found a bar and sat and had a drink.  Nick ordered a watermelon juice, which they were out of.... he then ordered the fresh squeezed limeade... which in San Antonio apparently means Sprite with flavoring.

We were all fairly tired so we headed home around 11:30 or 12 and prepared to wake up early to go see the Alamo and then head to the coast.

We managed to barely roll out of bed by about 9:30 so that we could take advantage of the free breakfast at the hotel and then headed out.

We parked and headed to the Alamo.  I had read that the Alamo wasn't the most impressive mission in San Antonio, but it certainly has the most history... well... at least it has the catchiest slogan.

 Right outside is the Monument to the fallen at the Alamo.  And there is Davy Crockett!  He is the one on the right carrying the coon skin cap!  I really wonder if he actually wore that hat or is it's just a legend and so they had to put that in the statue.  It seems like those hats would get really scratchy after a while.


 And there around the corner was the Alamo!  It was a lot smaller than I had been expecting really.... I guess most of the fighting was done in the grounds around this little mission, but it still seemed so small.  We couldn't take pictures inside, but they had items that had been collected or donated.  Some of them were really cool, such as Davy Crockett's rifle.  I am not sure how they actually got his rifle, but if they did then it is really cool.

Outside they were having a festival that was celebrating the Tejano heritage.  Tejano is Spanish for Texan, and is used to represent Texans of Mexican or Spanish descent.  A lot of the people who fought and died in the Alamo and the Texas revolution were Tejano, which I didn't actually know before this trip, so that was cool to discover.

I am not sure what a big dancing blue bear had to do with anything, but they had one there.

After walking through the mission we walked around a little bit more and I read about the events that happened leading up to the battle and then all about the revolution.  I think Scott might have gotten a little bit annoyed with me.

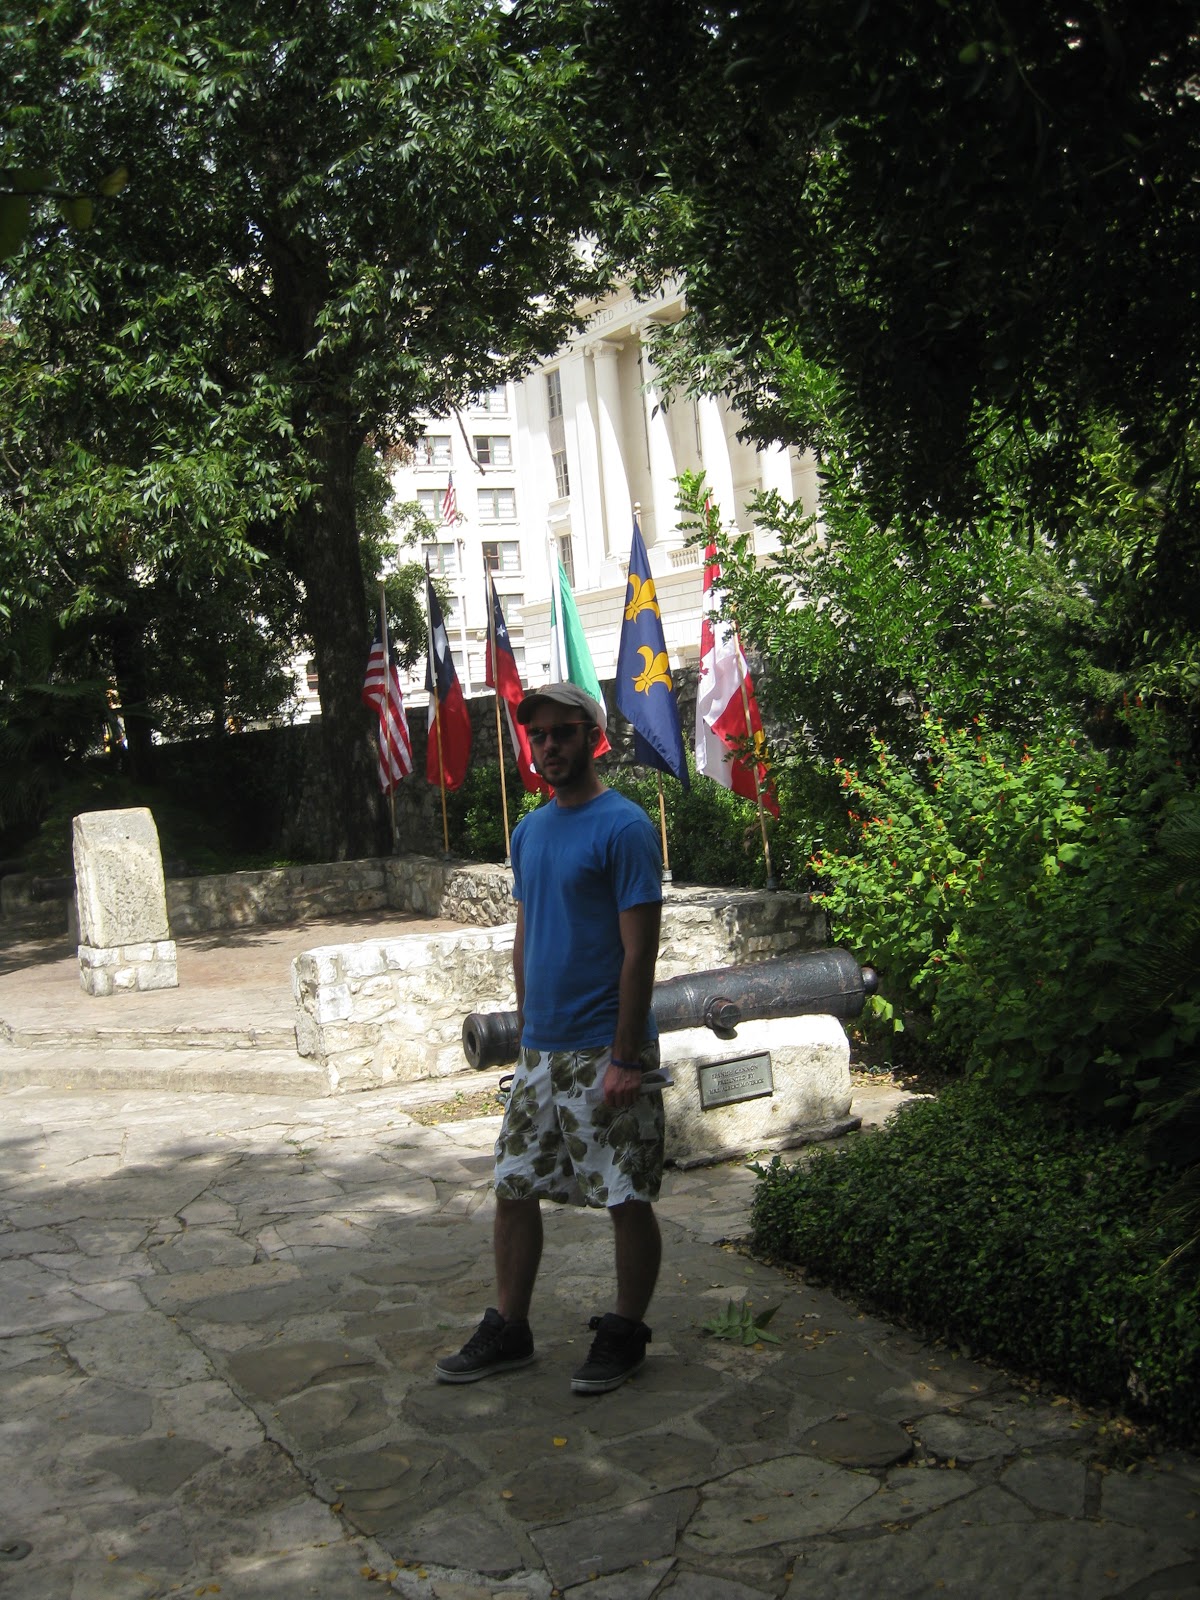
Here he is with a cannon that was used in the battle in the background.  He doesn't look particularly thrilled to be waiting for me.


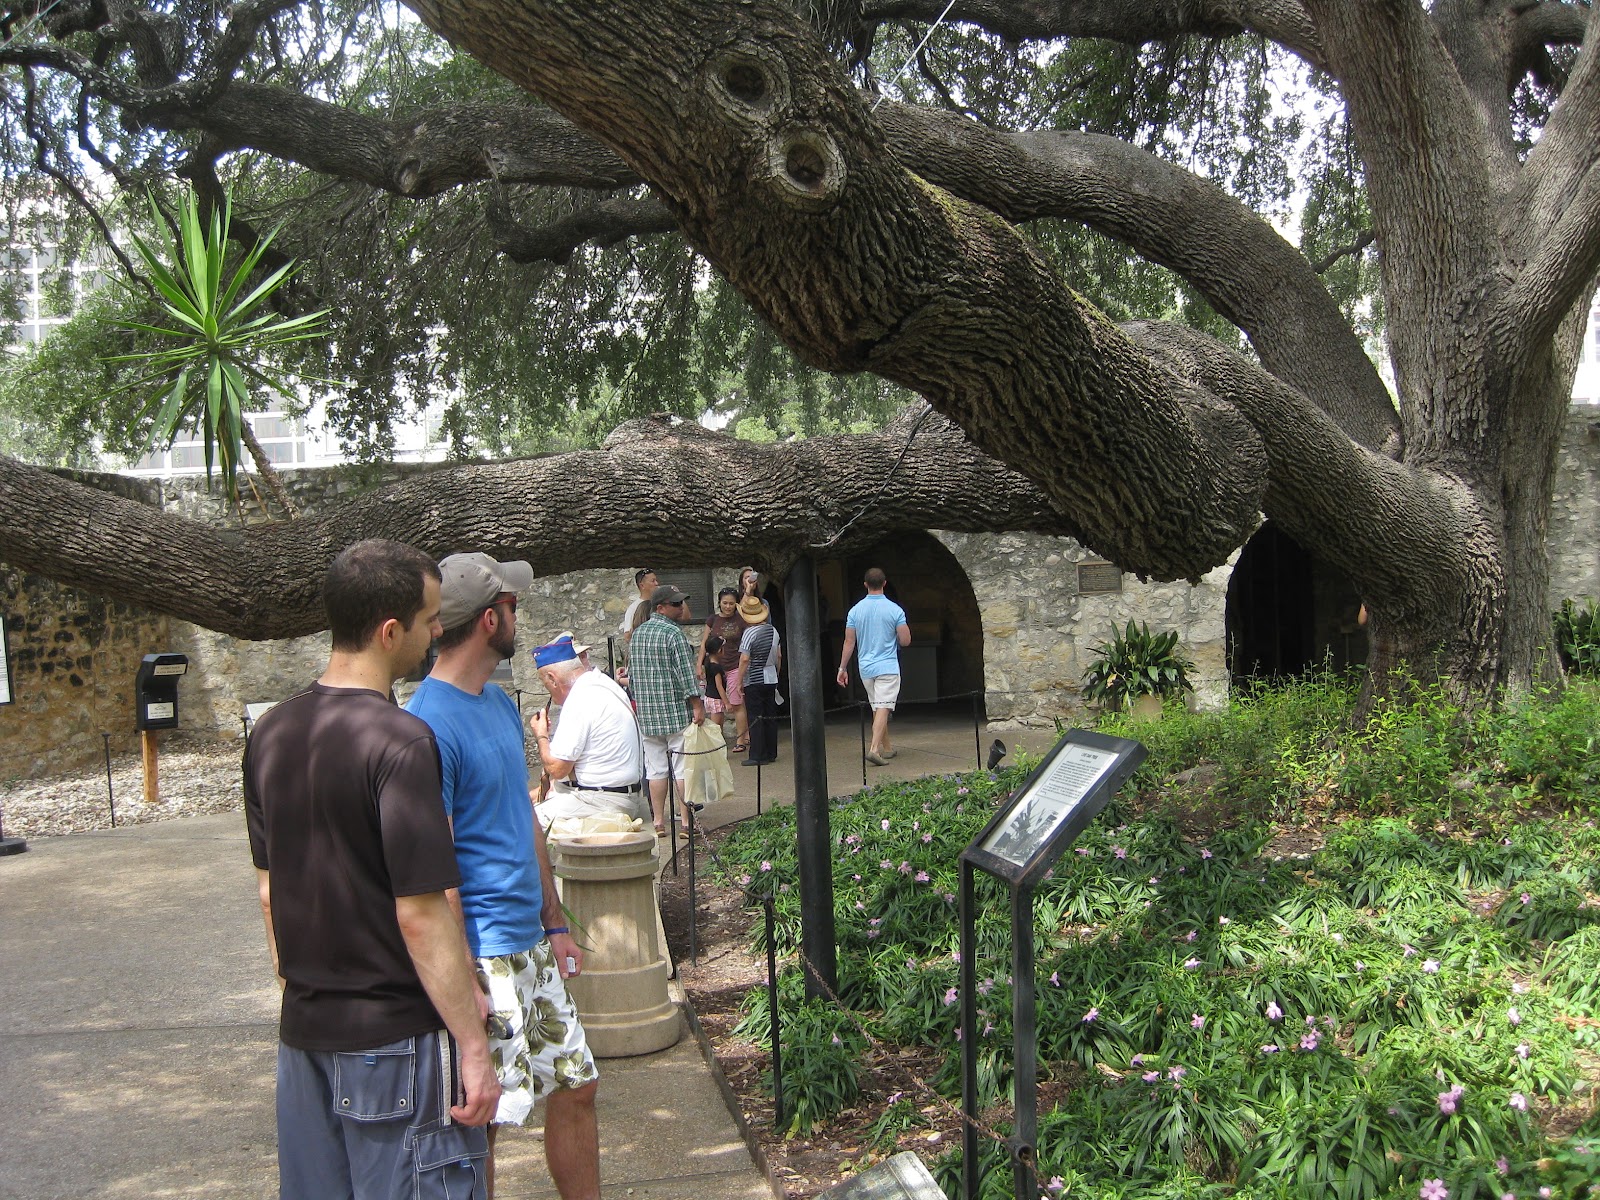
 In the grounds, they also had this cool tree that was the first live transplanted tree ever! (at least in San Antonio)  It was a really cool tree.

The grounds also had a monument that Japan had donated and flags from all the countries who had citizens that died at the Alamo.  For example, there were two Scottish people who were involved.  I can't imagine how they found their way to Texas though... that seems far away from Scotland.

Here is Scott and I outside the Alamo!

After that we headed off to Corpus Christi and the gulf of Mexico.  Scott was really excited about swimming in the Gulf of Mexico and I thought being on the beach for a while would be nice. 

We went to Malaquite beach on Padre Island, which was amazing.  Here is a link to a panorama of the place.

http://360.io/PUVXKC

The water was really great, it was just about the perfect temperature.  It was a little bit salty and after being in it a while my eyes were pretty stingy, but it was still a great time and a great trip.

Sunday, August 12, 2012

Recipe 18: Shrimp and Quinoa

The back log continues, this time it is time to discuss the Shrimp and Quinoa dish that I made.  Again, I am pretty sure that this dish is from sometime in May, so obviously I am struggling to actually fight back against the backlog.

Here is the final result:

And here is the recipe that I used for this:

Ingredients

  • 1 1/2 cups water
  • 1 cup uncooked quinoa
  • 2 tablespoons olive oil
  • 1 red onion, chopped
  • 1/2 green bell pepper, chopped
  • 1/2 cup sliced fresh mushrooms
  • 6 fresh asparagus spears, trimmed and chopped
  • 1/4 cup golden raisins
  • 1 tablespoon minced fresh ginger root
  • salt and pepper to taste
  • 1 pound medium shrimp - peeled and deveined
  • 1 lime, juiced
  • 2 tablespoons olive oil
  • 1/2 cup chopped Italian flat leaf parsley

Directions

  1. In a large pot, bring the water to a boil, and stir in the quinoa. Cover, reduce heat to low, and simmer 15 minutes. Remove from heat, and set aside 10 minutes, or until all liquid has been absorbed.
  2. Heat 2 tablespoons olive oil in a skillet over medium heat, and saute the onion and green bell pepper until tender. Mix in the mushrooms, asparagus, raisins, and ginger, and continue cooking until asparagus is tender. Season with salt and pepper. Mix in the shrimp, and cook 5 minutes, or until opaque.
  3. In a large bowl, mix the quinoa with the lime juice and remaining 2 tablespoons olive oil. Toss with the skillet mixture and parsley to serve.

Changes

I made a few changes to this, instead of adding asparagus and raisins I added some green beans and the full green pepper.

I also want to discuss Quinoa a little bit.  It is very important to either
1) Buy prewashed Quinoa
or
2) Make sure to wash it very carefully.  If you don't wash it you can get kind of a rubbery taste to the Quinoa.


The Process

I started cooking the Quinoa.  Instead of water you can use chicken broth, which I think is a good addition.  I can't remember exactly what I did for this recipe, but I think I just used water.

At the same time I began cooking the veggies in the skillet.

Sprinkles was far more interested in looking out the window that watching me cook.  I don't think that she likes Quinoa much.

I added the mushrooms and continued cooking the veggies.

I soon added the shrimp.

and cooked it until the shrimp was done.

Once everything was cooked I mixed it all together in a bowl and served it up.


I really liked this dish, it was really tasted and pretty healthy and a nice way to get Quinoa in my diet.  I would certainly recommend trying this and next time I might actually h

Recipe 19: Manicotti

 I finally made it through all of the recipes that I made in Oregon and am now onto the first recipe that I made in Texas.  I asked one of my roommates what he wanted and he requested Manicotti, so that is what I made.

Here is a picture of the completed recipe:

And here is the recipe that I used.

Ingredients

  • 1 pint part-skim ricotta cheese
  • 8 ounces shredded mozzarella cheese
  • 3/4 cup grated Parmesan cheese
  • 2 eggs
  • 1 teaspoon dried parsley
  • salt to taste
  • ground black pepper to taste
  • 1 (16 ounce) jar spaghetti sauce
  • 5 1/2 ounces manicotti pasta

Directions

  1. Cook manicotti in boiling water until done. Drain, and rinse with cold water.
  2. Preheat oven to 350 degrees F (175 degrees C).
  3. In a large bowl, combine ricotta, mozzarella, and 1/2 cup Parmesan, eggs, parsley, and salt and pepper. Mix well.
  4. Pour 1/2 cup sauce into an 11x17 inch baking dish. Fill each manicotti shell with 3 tablespoons cheese mixture, and arrange over sauce . Pour remaining sauce over top, and sprinkle with remaining Parmesan cheese.
  5. Bake 45 minutes, or until bubbly.

Changes

I didn't make any changes to this recipe.  It was pretty straightforward.  The only thing that is worth talking about is how I filled the manicotti.  This was very similar to the stuffed shells that I made previously.  To fill the manicotti I filled a plastic bag with the filling and the cut a small hole in one corner, which allowed me to squeeze the filling.


The Process

I first mixed the filling together, which is shown below.  While I was doing this I also boiled the manicotti to cook it up.


Here is the plastic bag with the filling and a hole cut in the corner.


Here is the manicotti filled on top of the sauce.

And then finally here is the manicotti in the oven and ready to cook.


This was a really simple recipe to make and was pretty good, and it seemed like my roommate kind of liked it.